Moulding Replacement Pt. 1
9 Aug 2005
At 11:30 pm, I got some crazy notion to see how far I could get replacing the tired old
mouldings on my Z. The window mouldings turned out to be very easy to switch
out, and I was done with them in less that an hour. I'm amazed at what a big difference
such a small upgrade can make - the Z looks so much more fresh and new!
Much thanks to Yuichi of KurumaZ for making
such a great product, and to Robo for posting very
clear, detailed installation instructions. |
| |
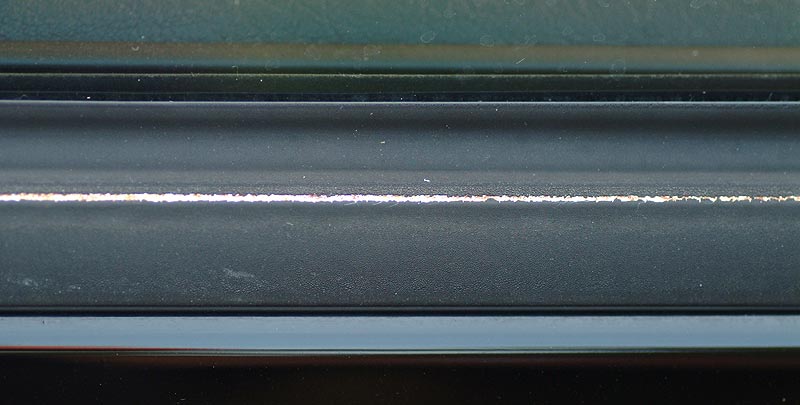
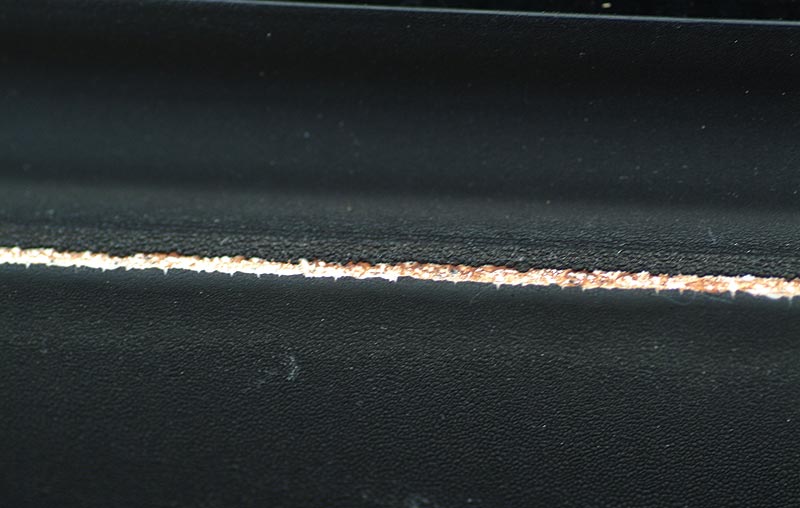
These are a couple close-up
shots of the old moulding - the surface layer was dried out, crusty, and coming off to reveal metal beneath
that was getting rusty: |
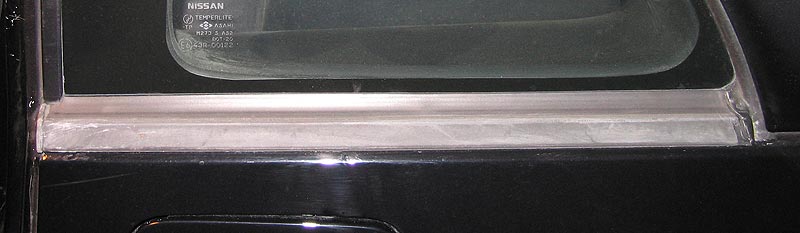
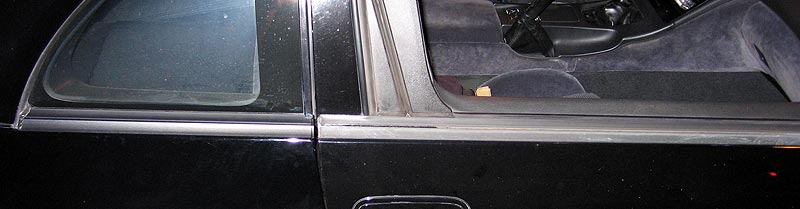
I started with the rear quarter windows
because Robo said they were the easiest. Here is a quarter window before
replacement: |
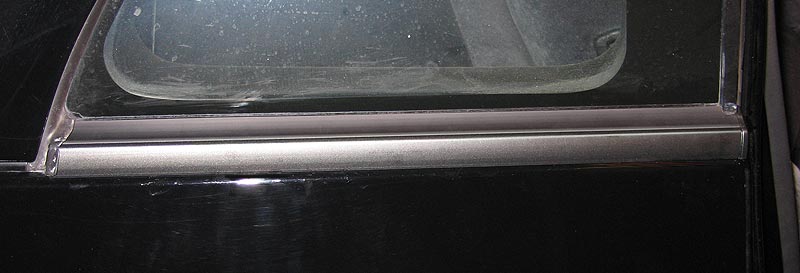
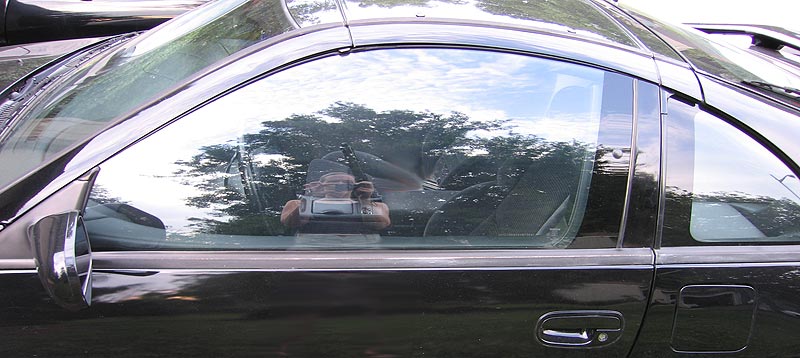
And one with the new moulding: |
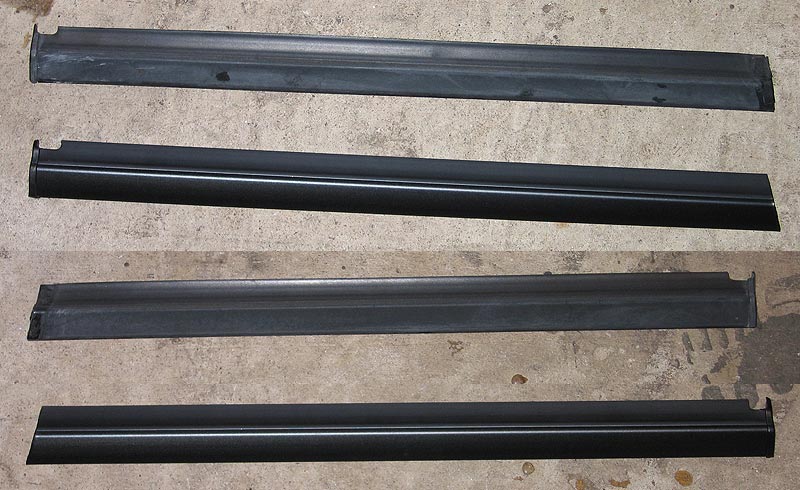
Old and new mouldings for comparison: |
Front old and new mouldings: |

New moulding on back, old moulding on front: |
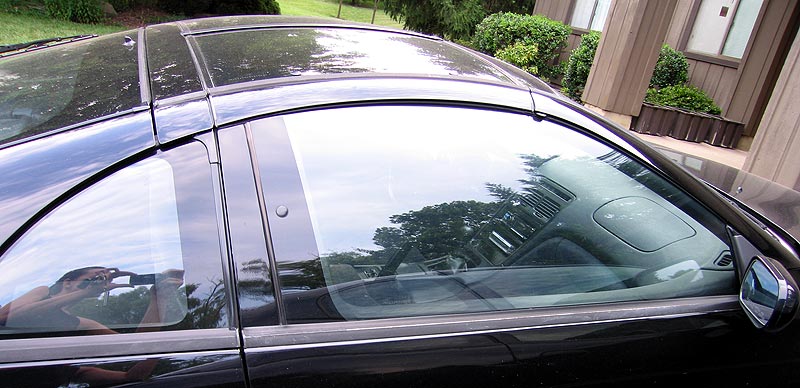
Driver's side before and after: |
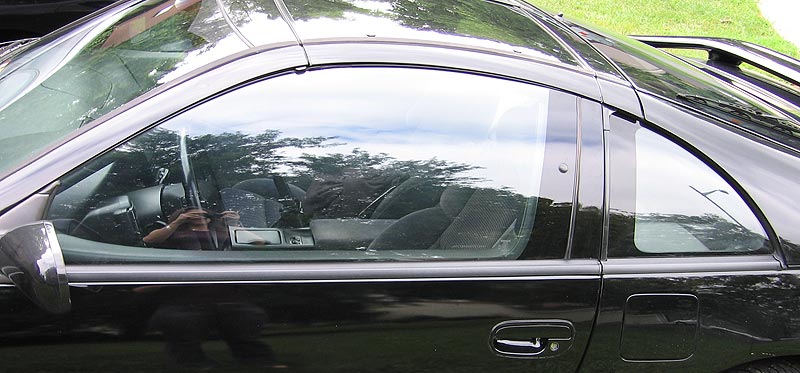
Passenger's side before and after: |
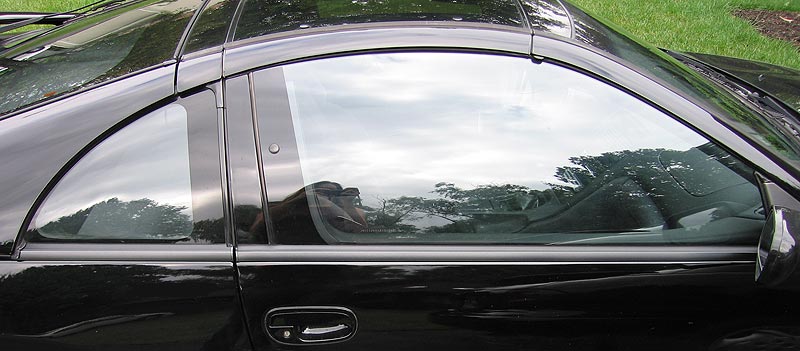
So much better! :-)
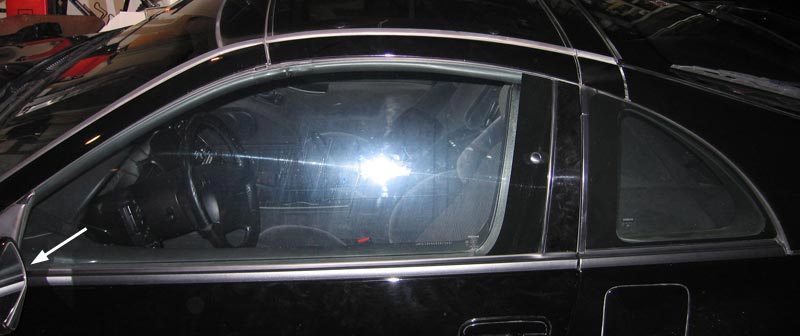
There are only two additions/changes I would make to Robo's instructions -
1) When shoving the end of the moulding under the mirror stanchion (as indicated by the white
arrow in the following picture), make sure to also force that end downward. I got it under,
but it still needed to snap down, and that was impossible even when I got off the ground
and put all my weight on it. I had to pull it back out and then start over, making sure to
shove under AND down, and then everything went well. |
2) I didn't find the front window mouldings
much more difficult than the back ones, and removed them almost exactly the same way. Robo's
instructions indicate that you should pry them up from inside the car; I just pried the back
end up off its nipple and then got my fingers under and pried up and away from the outside
just like with the rear quarter windows. It worked great.
My next Midnight Project will be the top mouldings - can't wait to see what the car looks
like after that! |
|